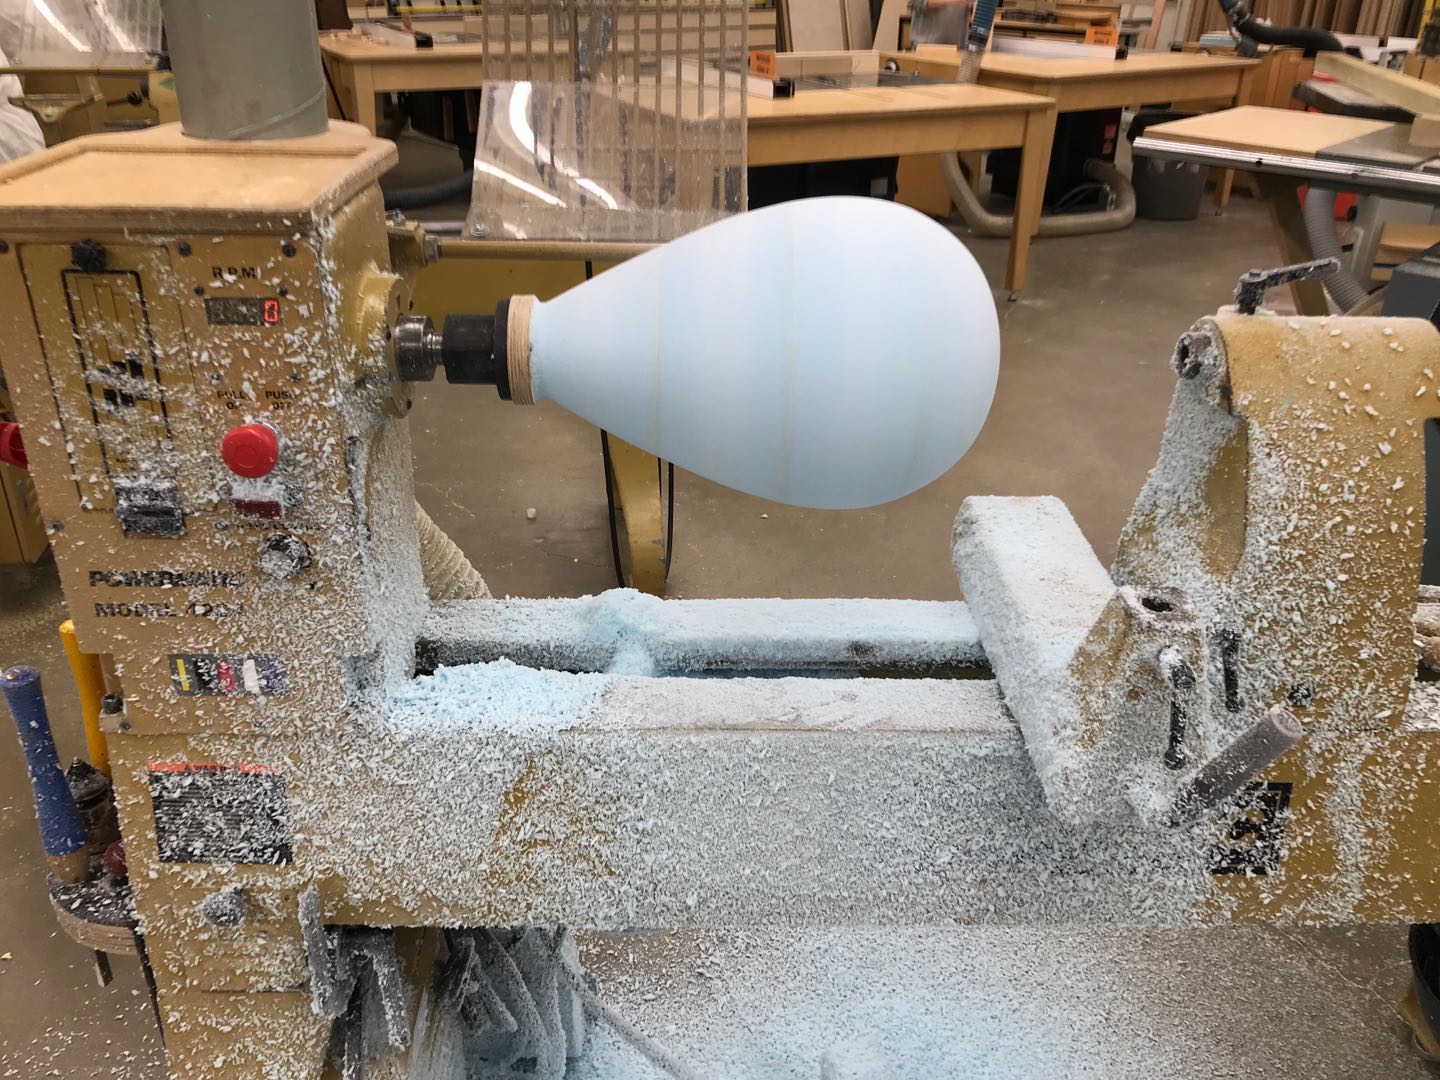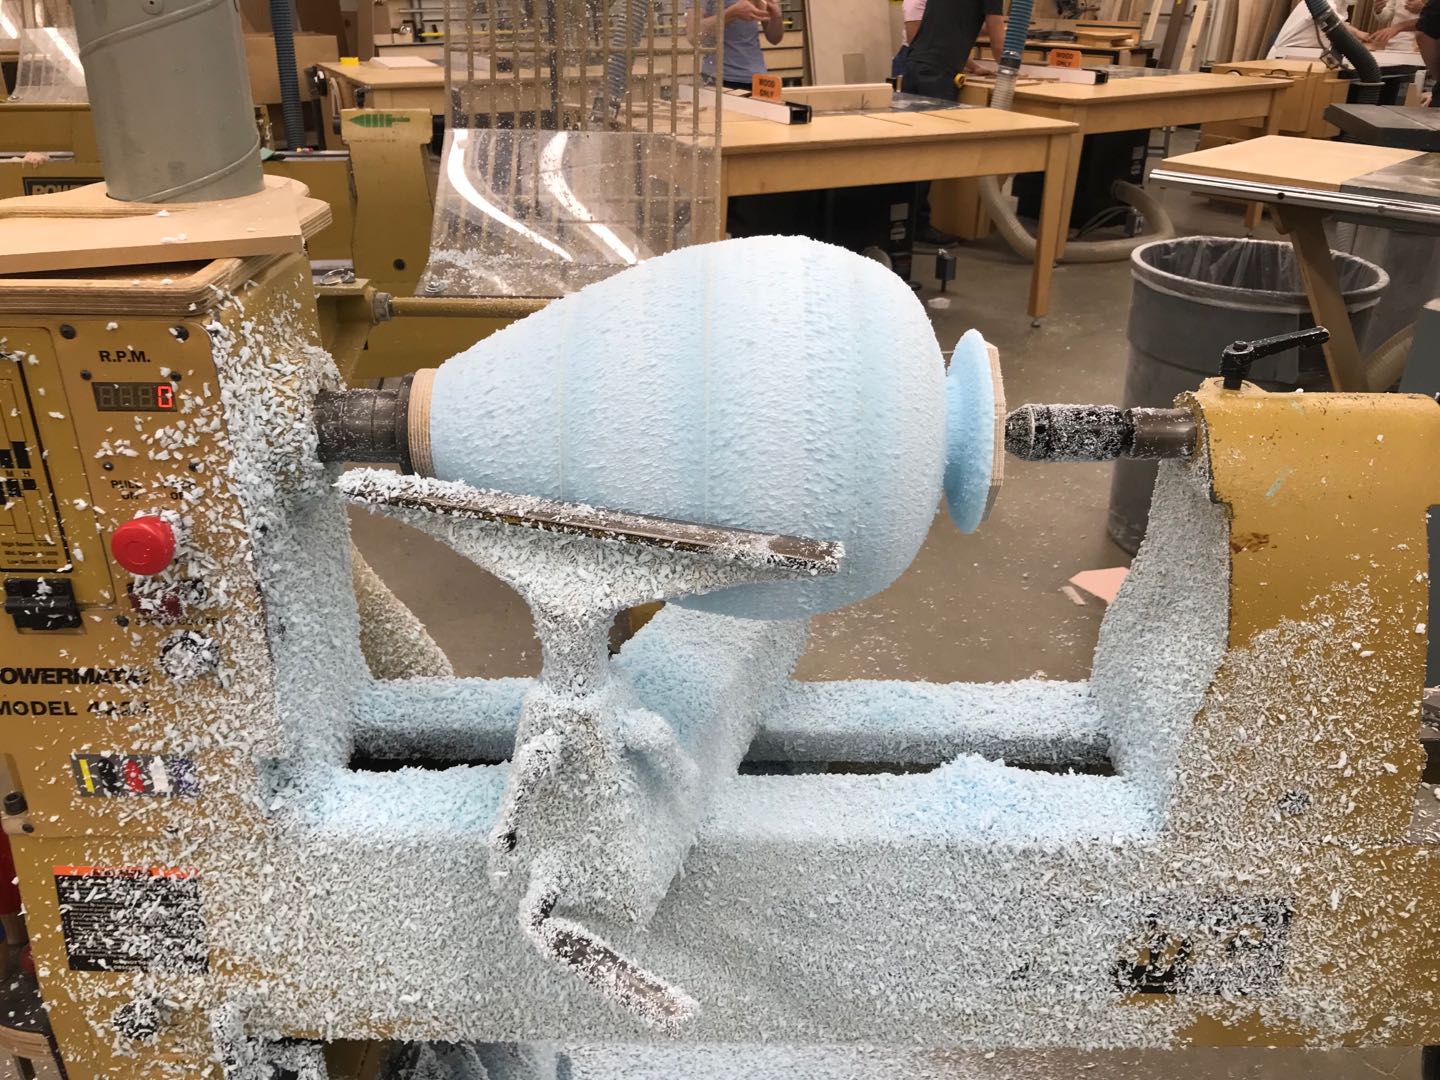
I glued four pieces of two inch blue foam together and made this buck. I used blue foam because it is the cheapest material for the size requirement. This is my first attempt and notice the roughness on the surface.

I overlaid multiple strips of cut fiberglass on top half of the buck. I laid them in crisscross pattern for sturdiness. Always wear gloves and masks when dealing with fiberglass, lesson learned the hard way.
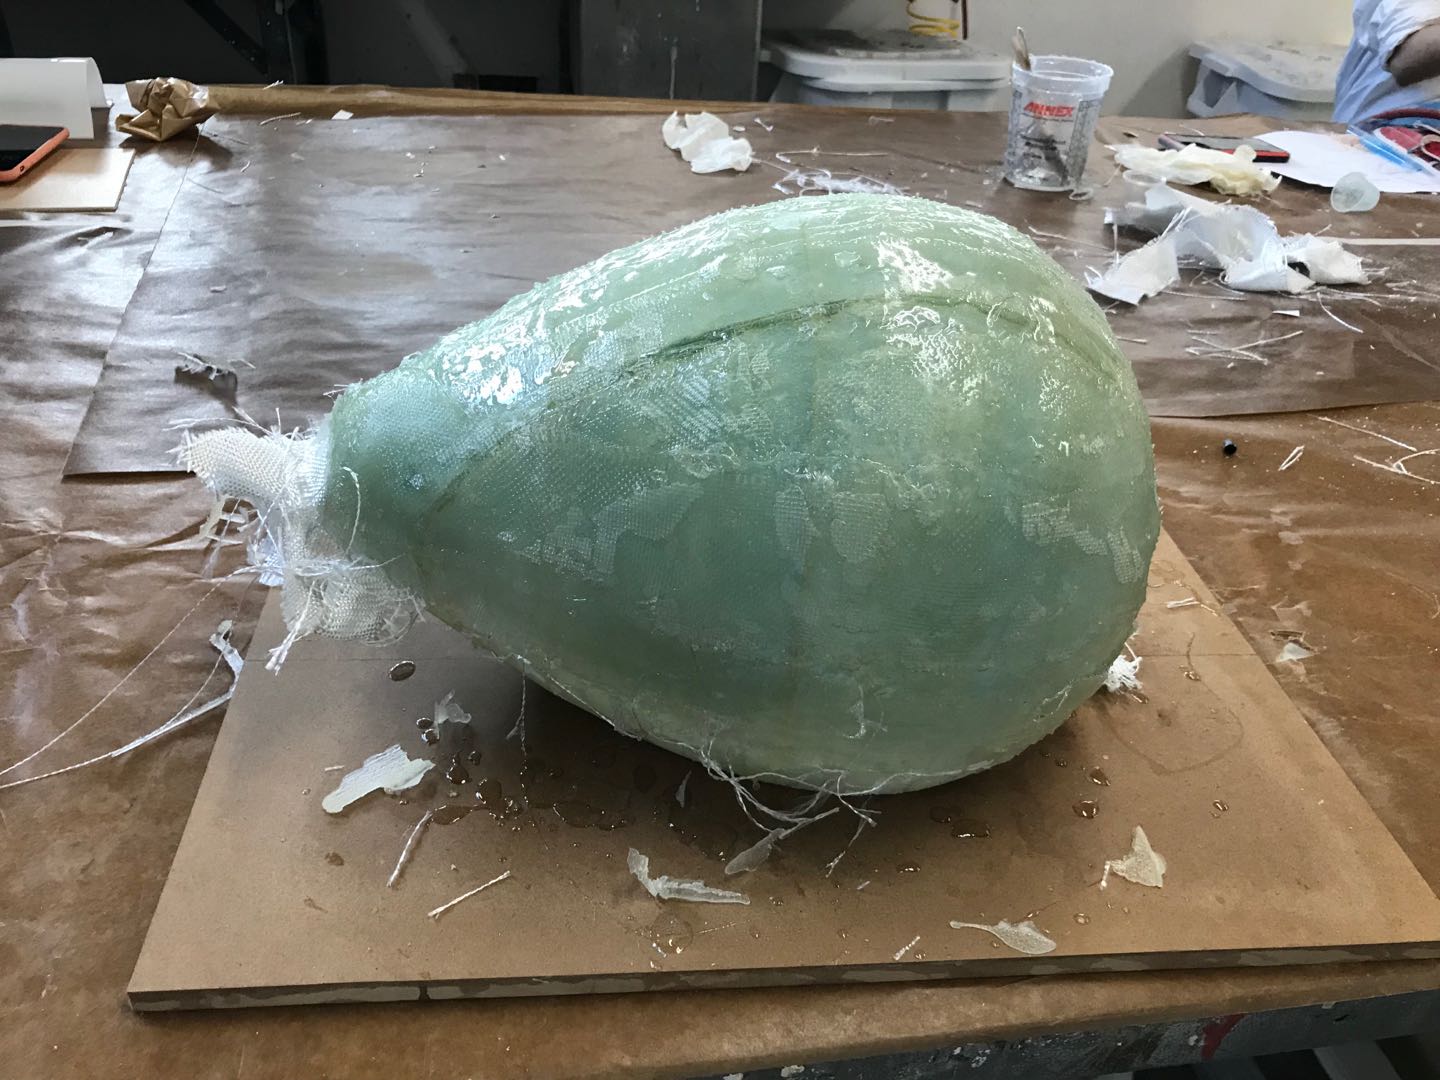
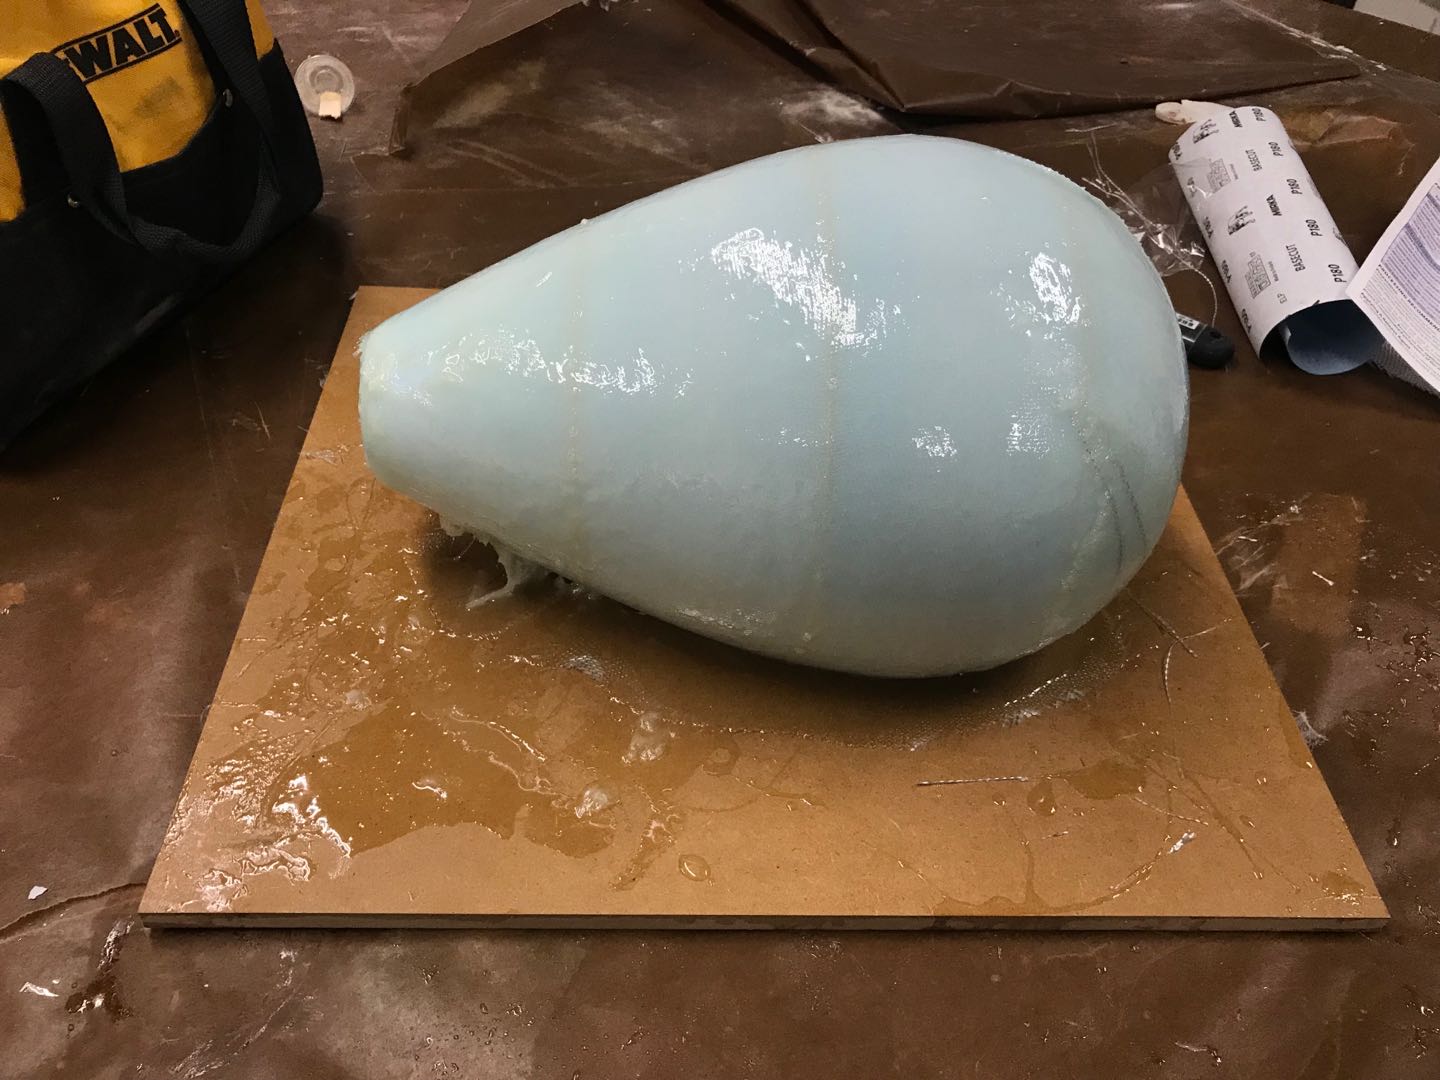
This is how it looks after I let it sit overnight. Notice the pale sections. Those are air bubbles formed between the fiberglass and the buck. Those are formed because of the heat generated during the epoxy curing process melted sections of the blue foam.
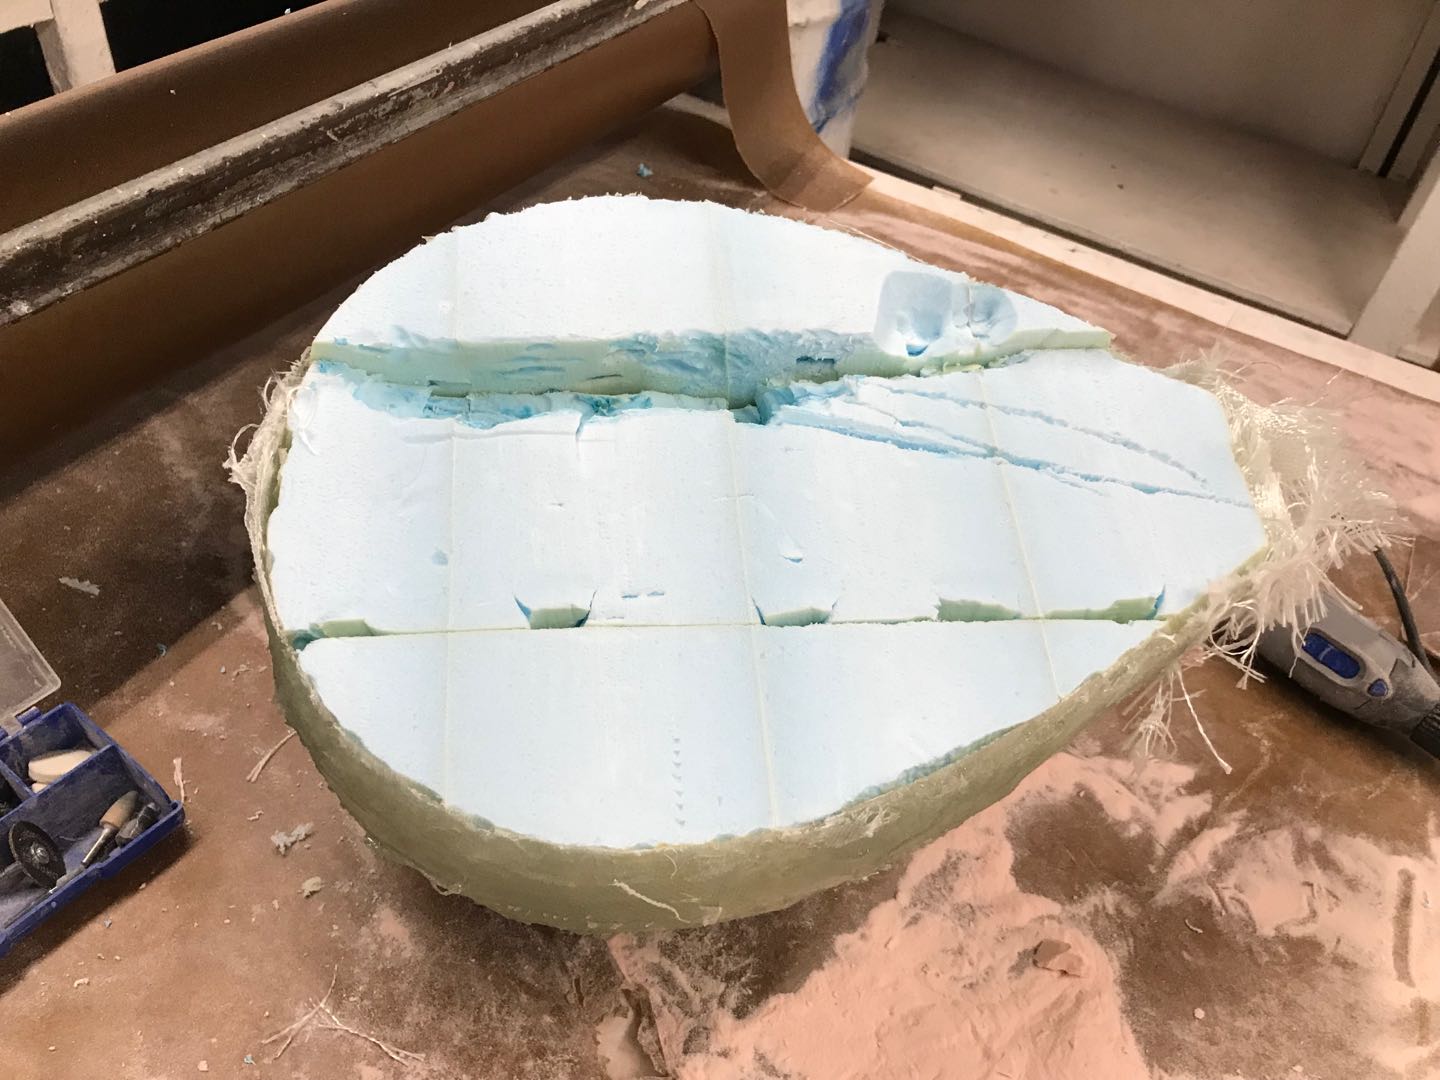
Because I didn't put enough wax on the blue foam surface and how rough it is when laminated with fiberglass, it is extremely hard to remove the buck without damaging the fiberglass case.
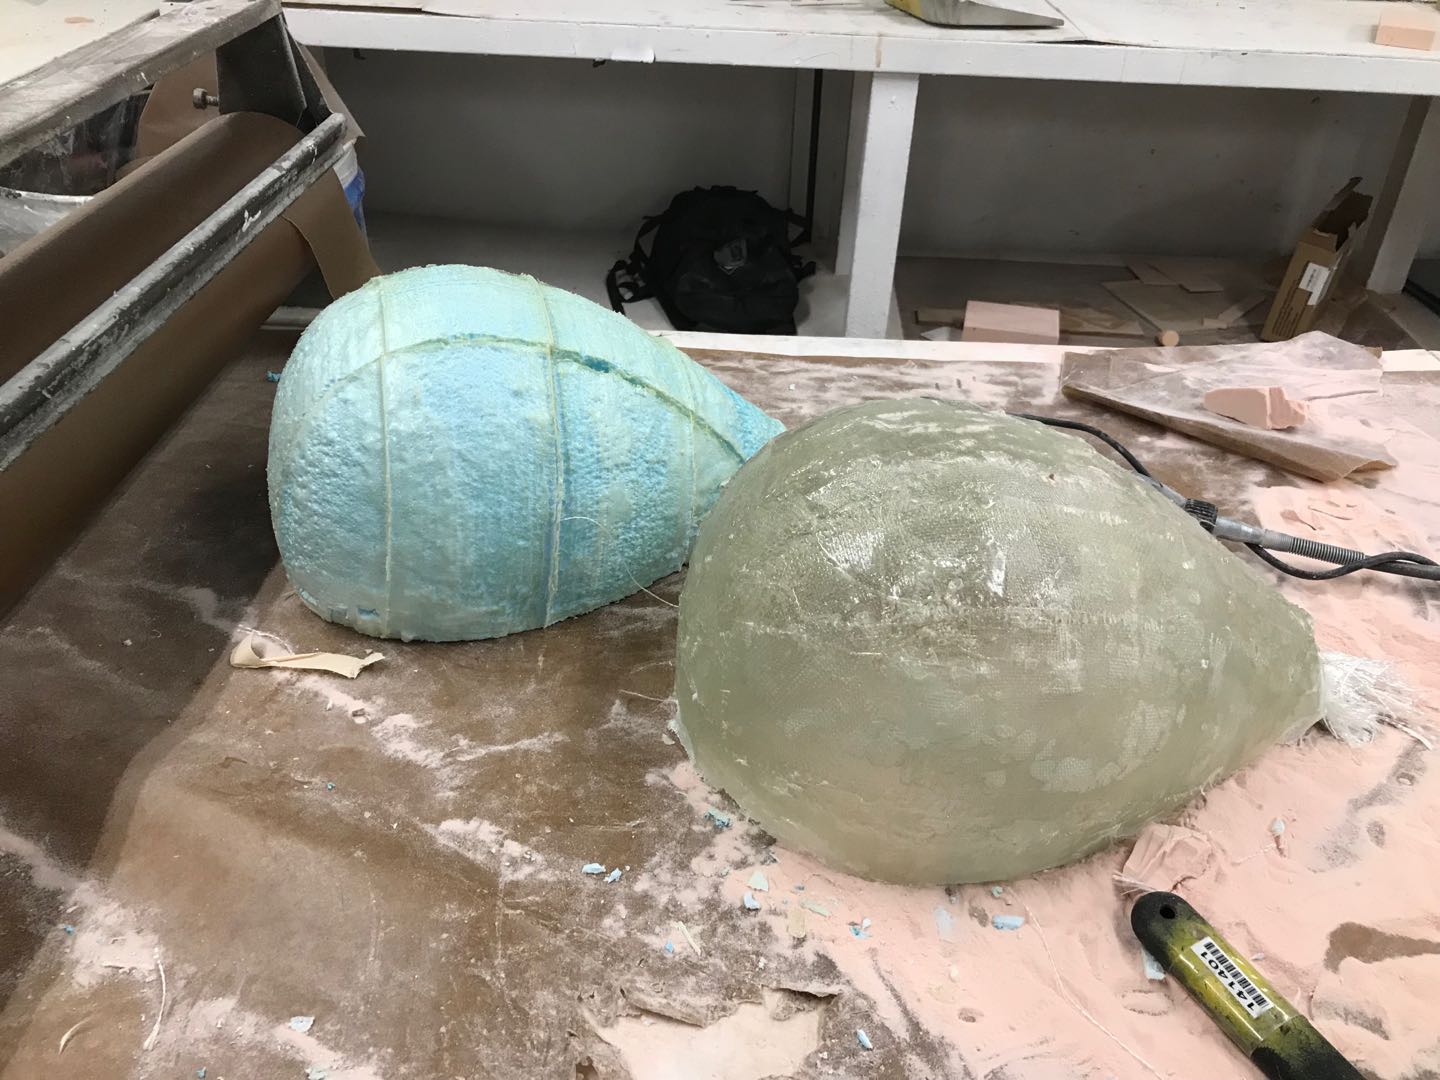
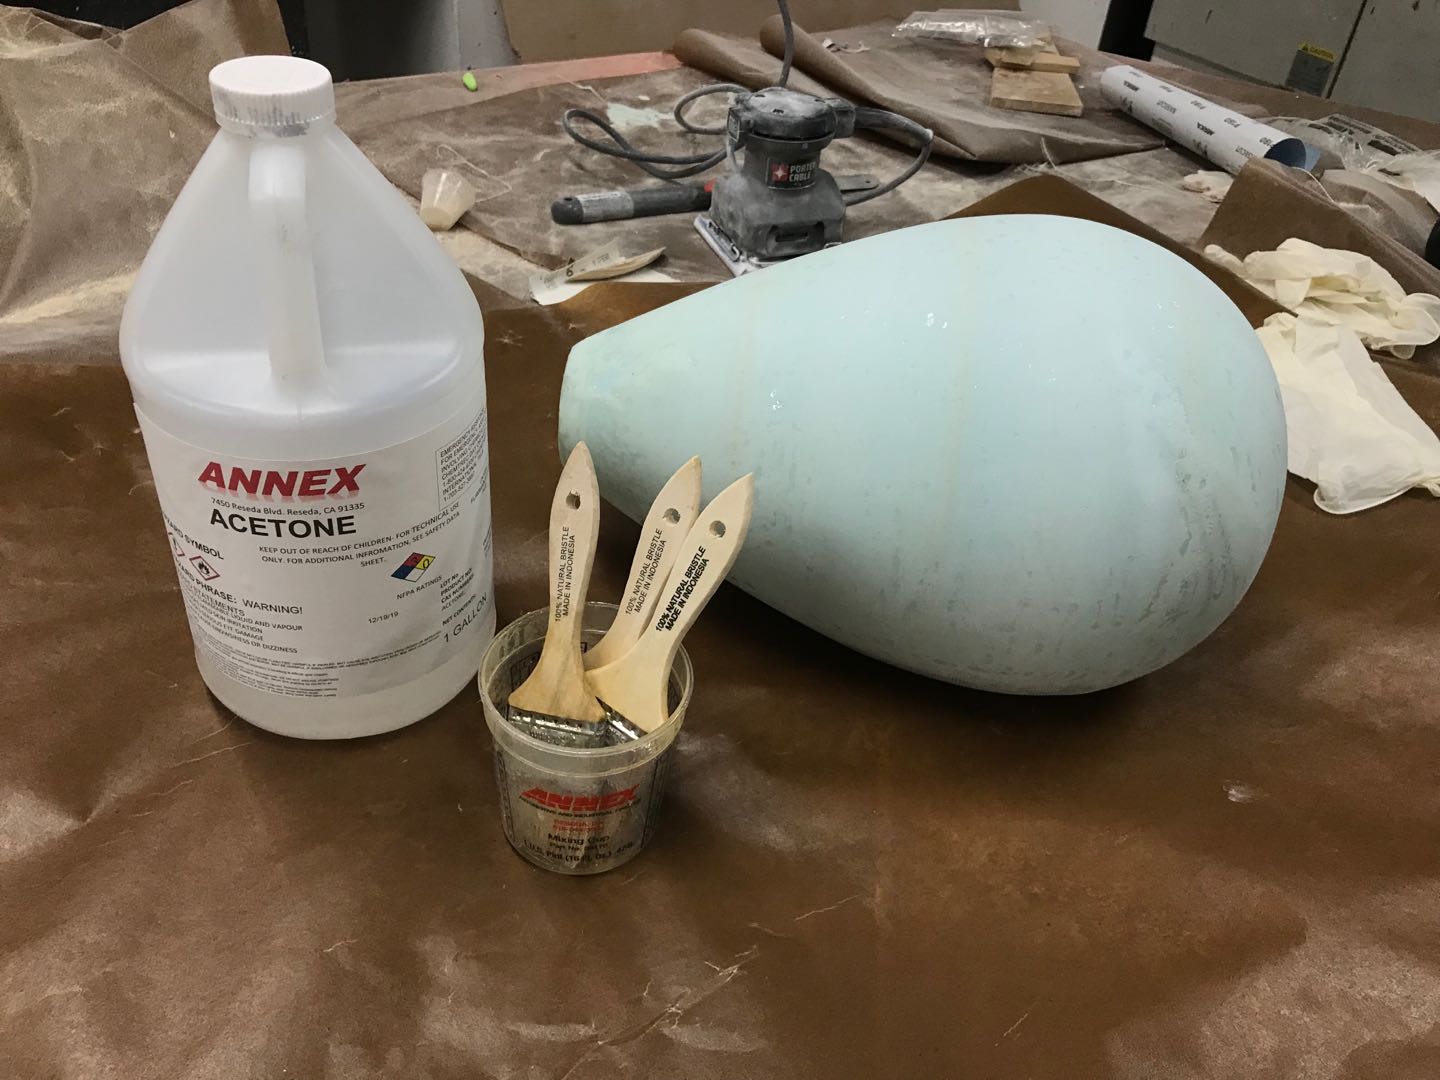
It took me hours to separate both parts. Notice the ridges on the blue foam buck. It is foam epoxy that I used to glue the four pieces of foam together. They used to be flushed with the surface after turning on the lathe. They look extruding because they are the only part that didn't melt during the epoxy curing process.
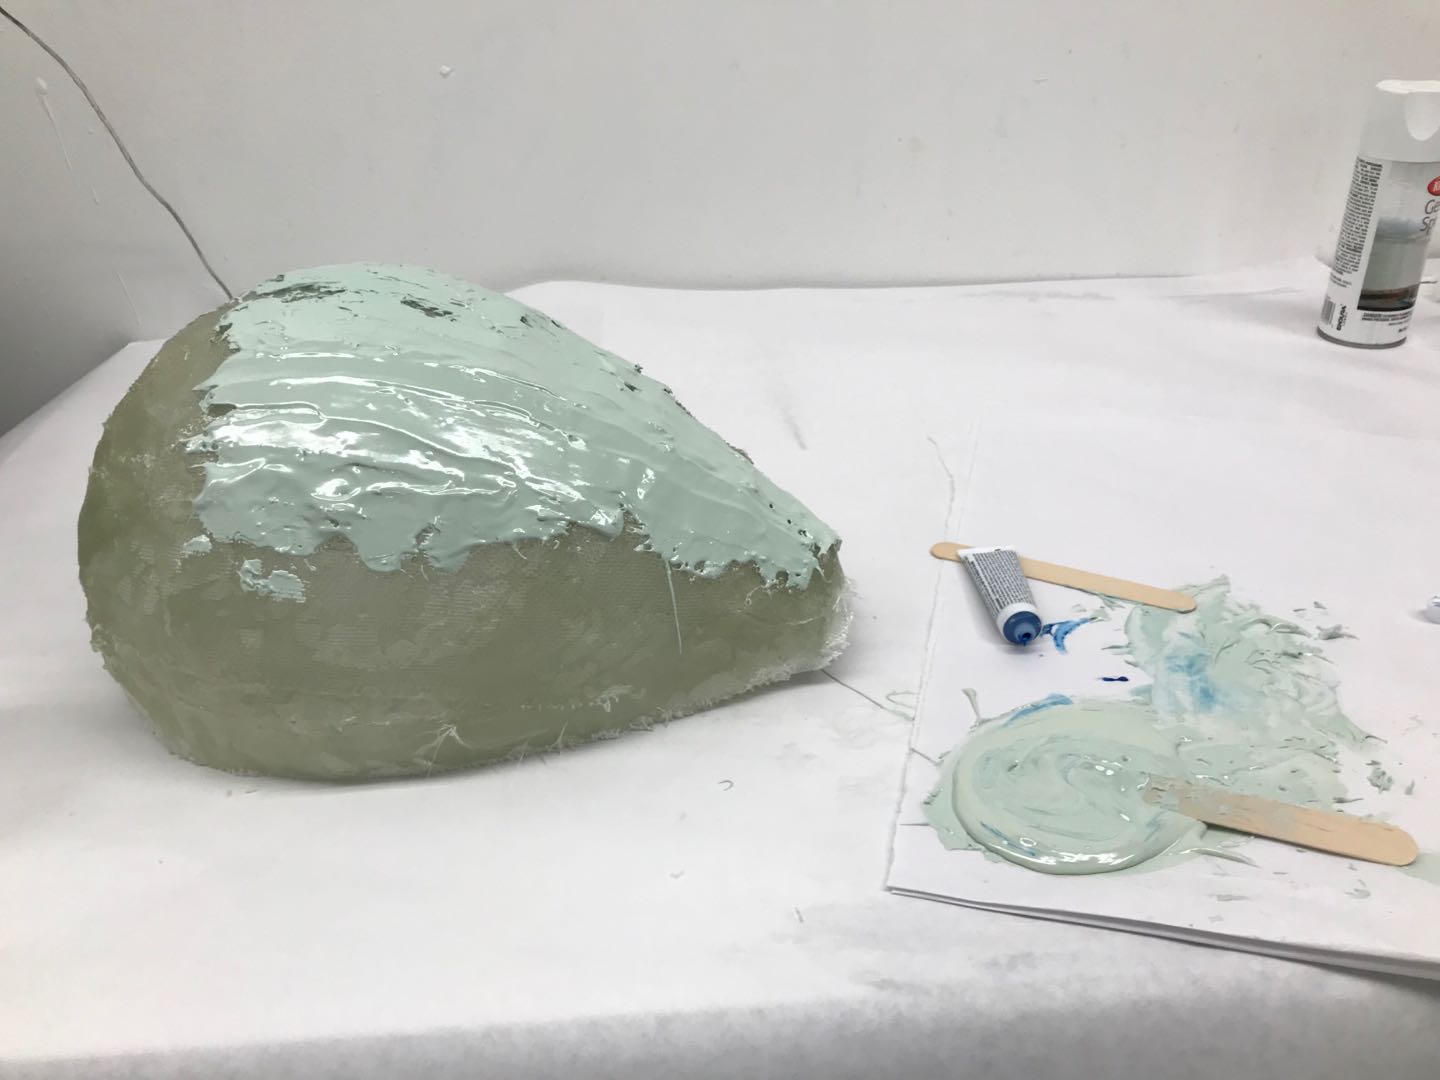
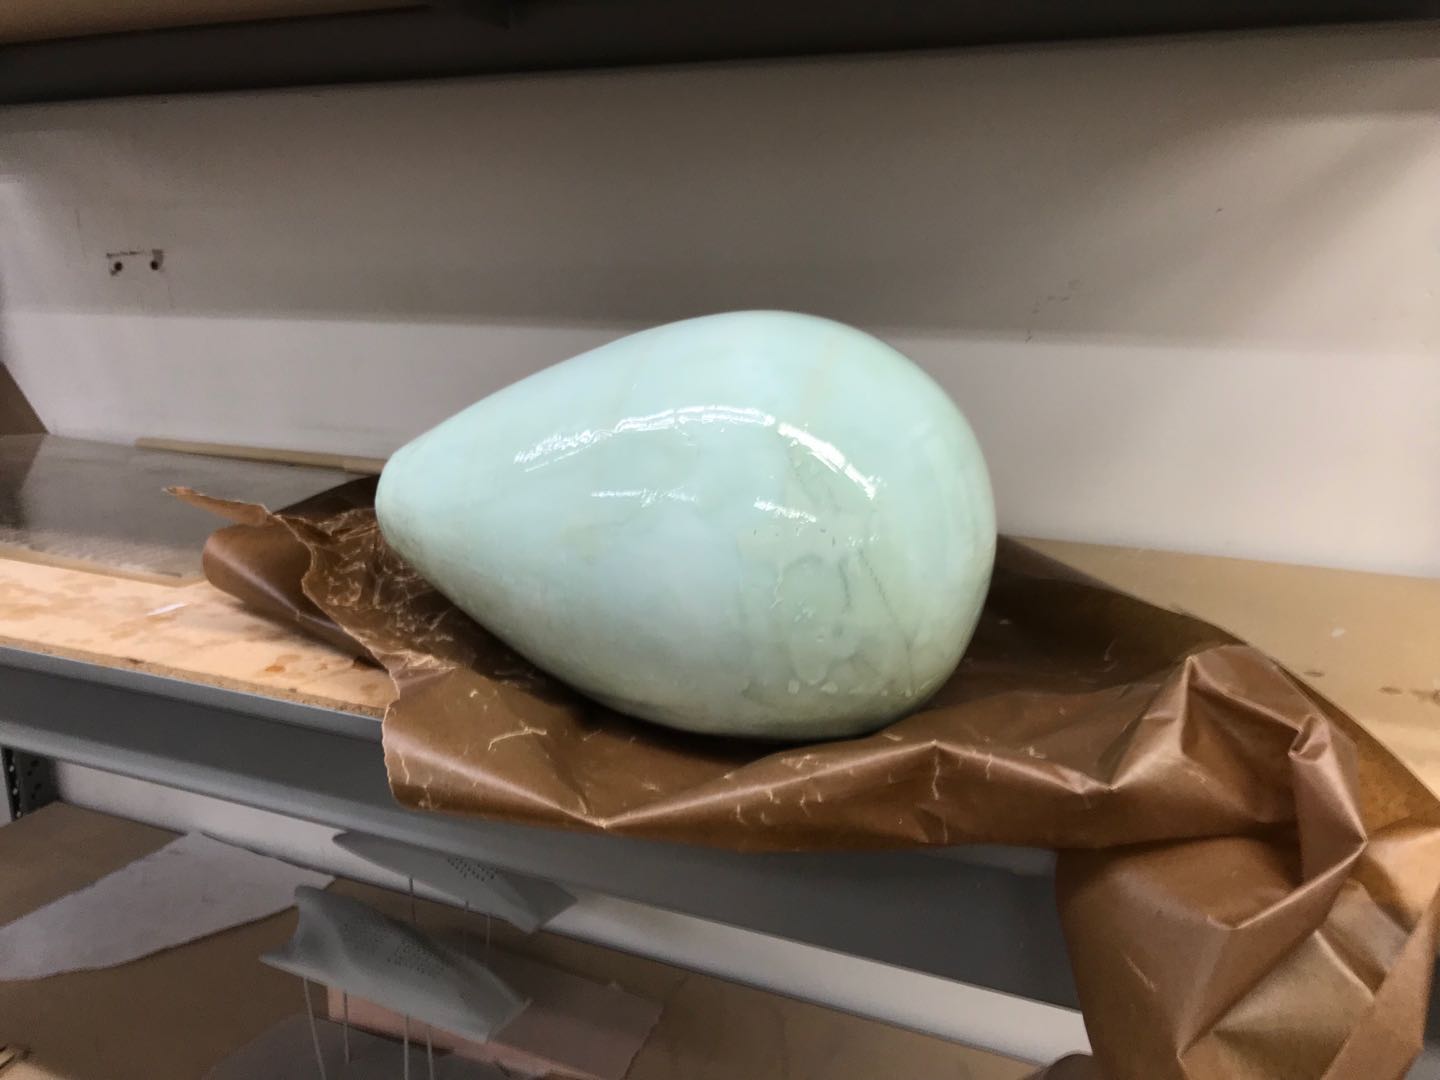
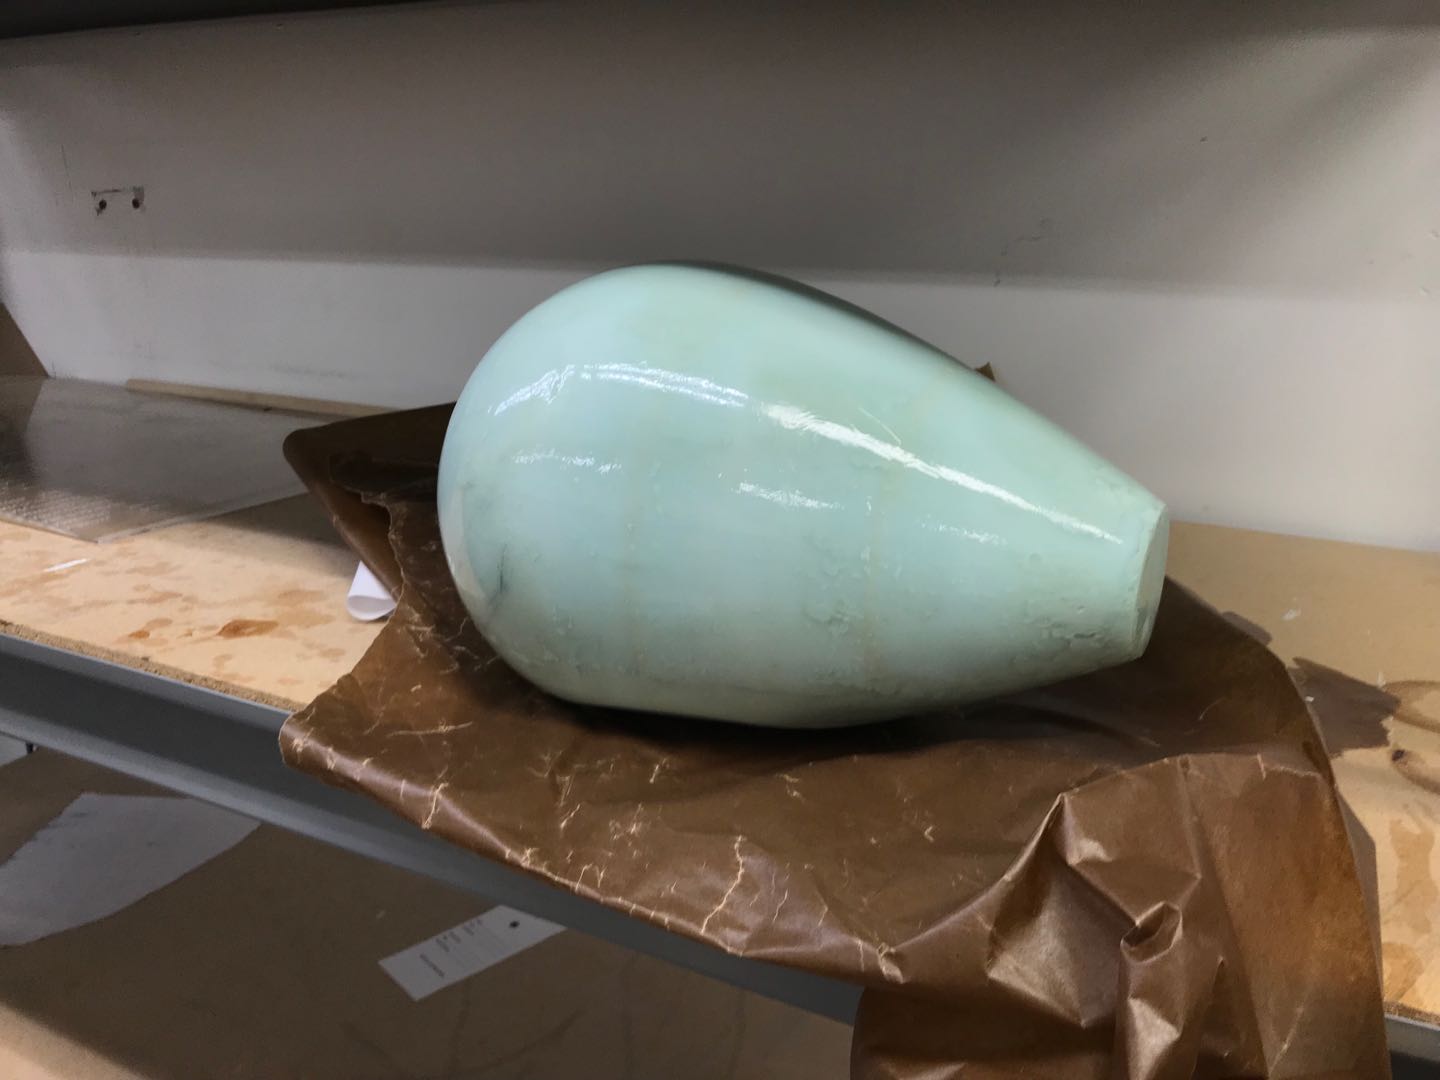
Because of the roughness on the buck and air bubbles formed during the curing process, I used a lot of bondo trying to smooth out the surface.
Third pass with bondo after sanding the previous layer. The hardness difference between epoxy and bondo is also causing uneven surfaces.
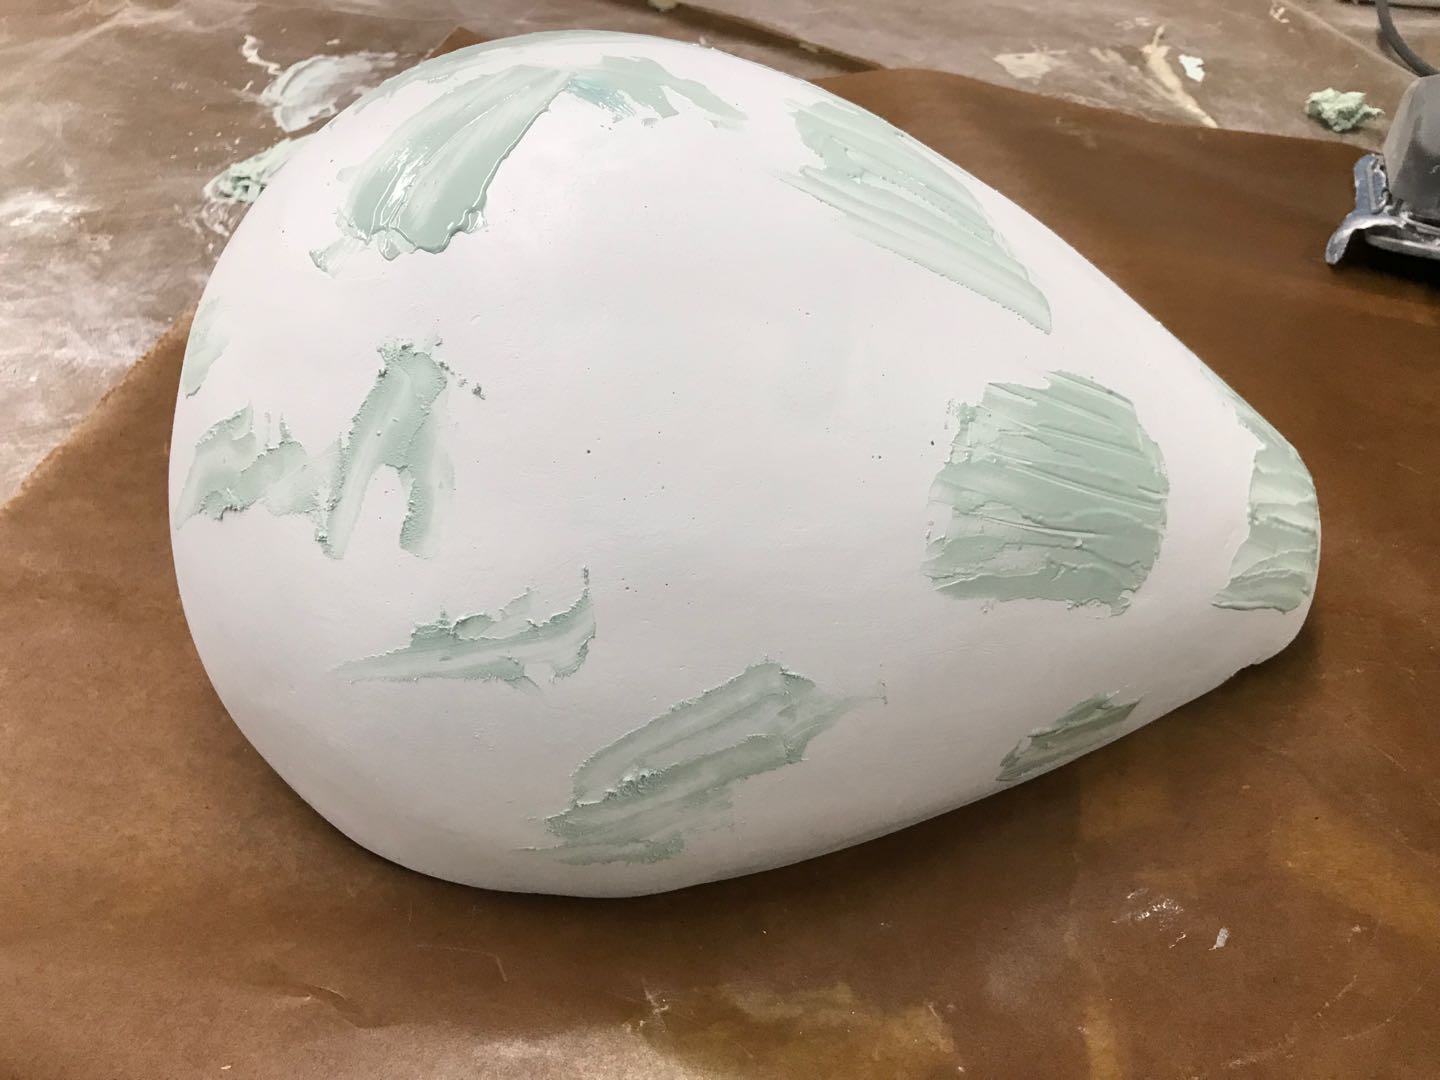
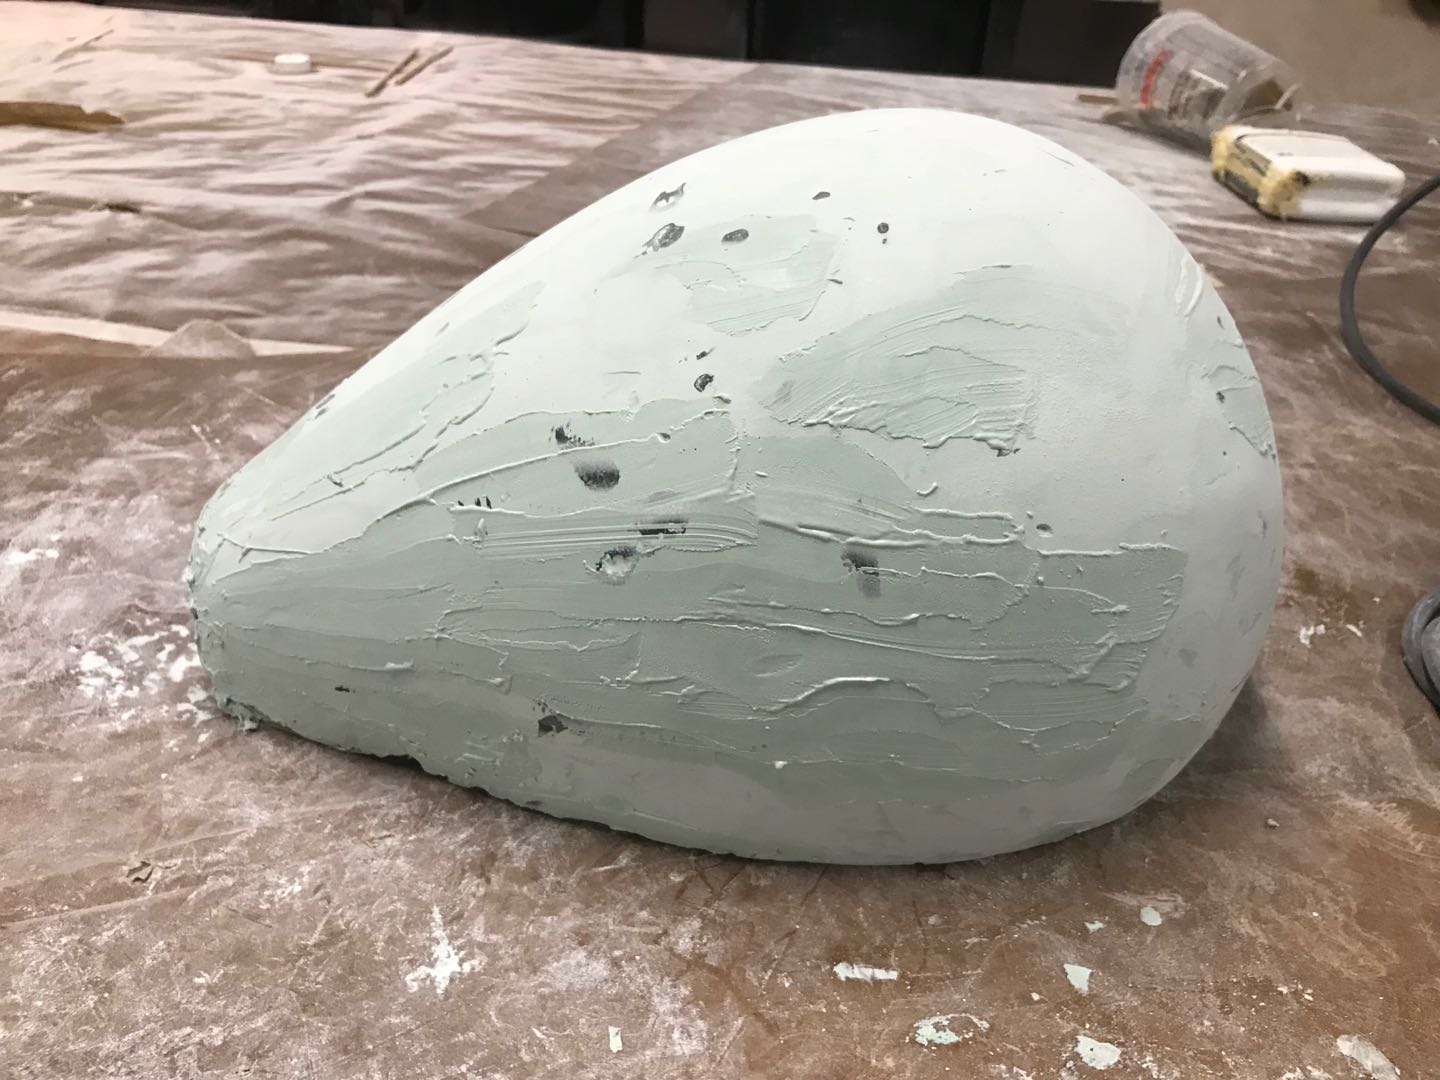
Final pass with bondo to fix minor gaps and fill holes.
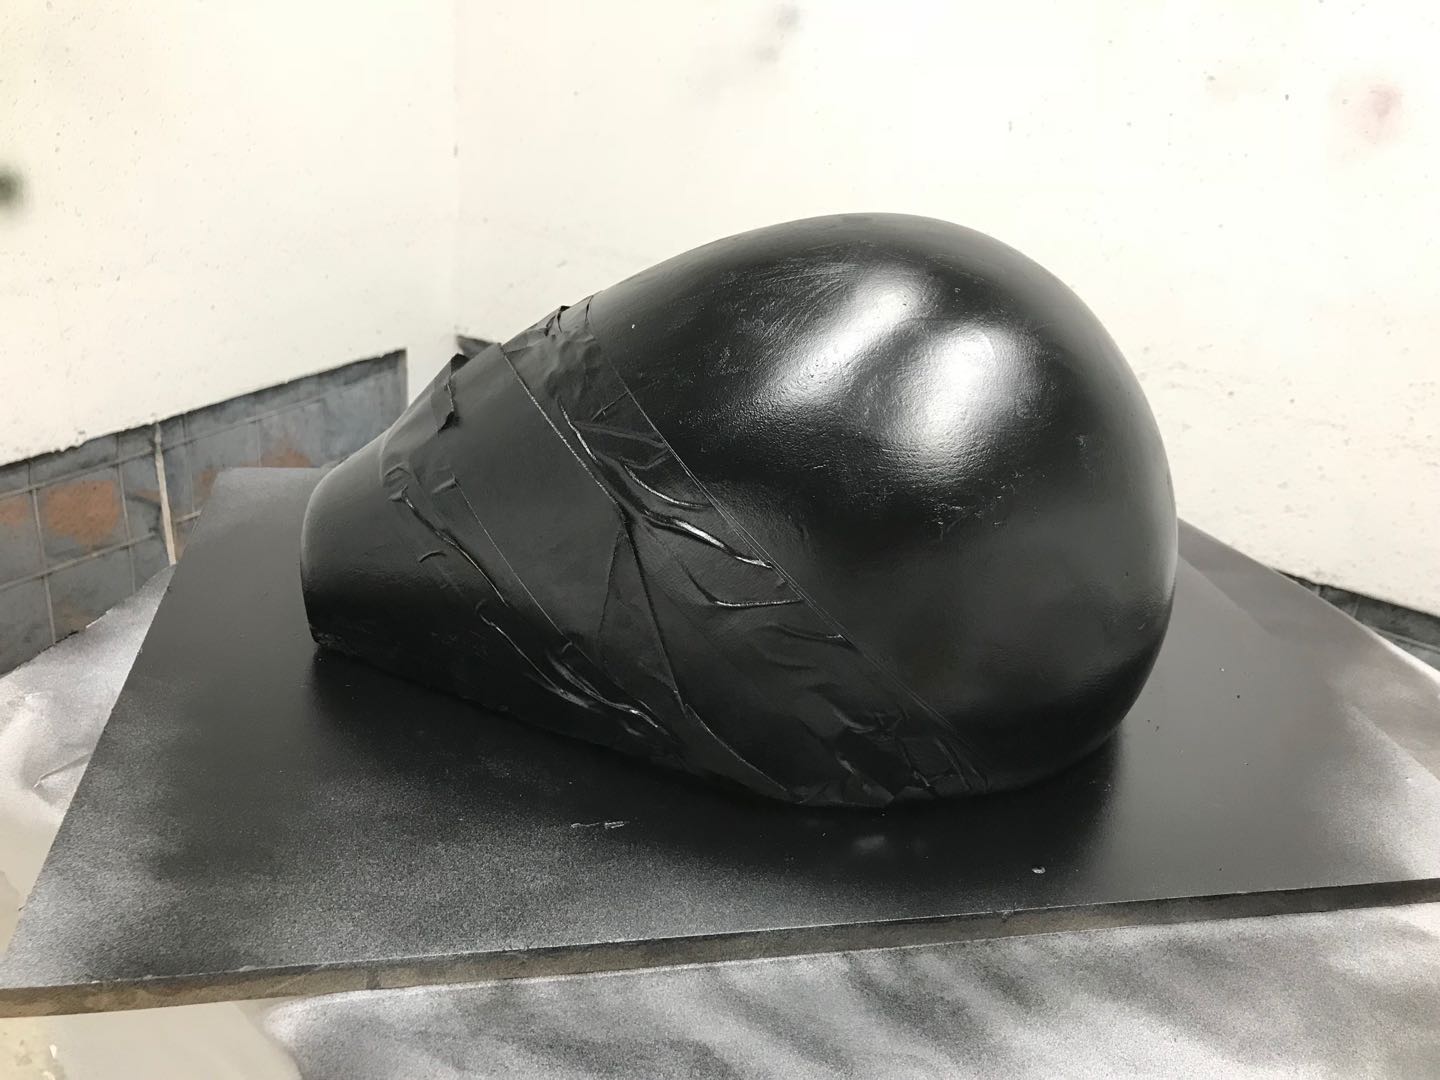
I taped a piece of paper to protect the color break section and spraed other sections black to better show flaws in the surface.
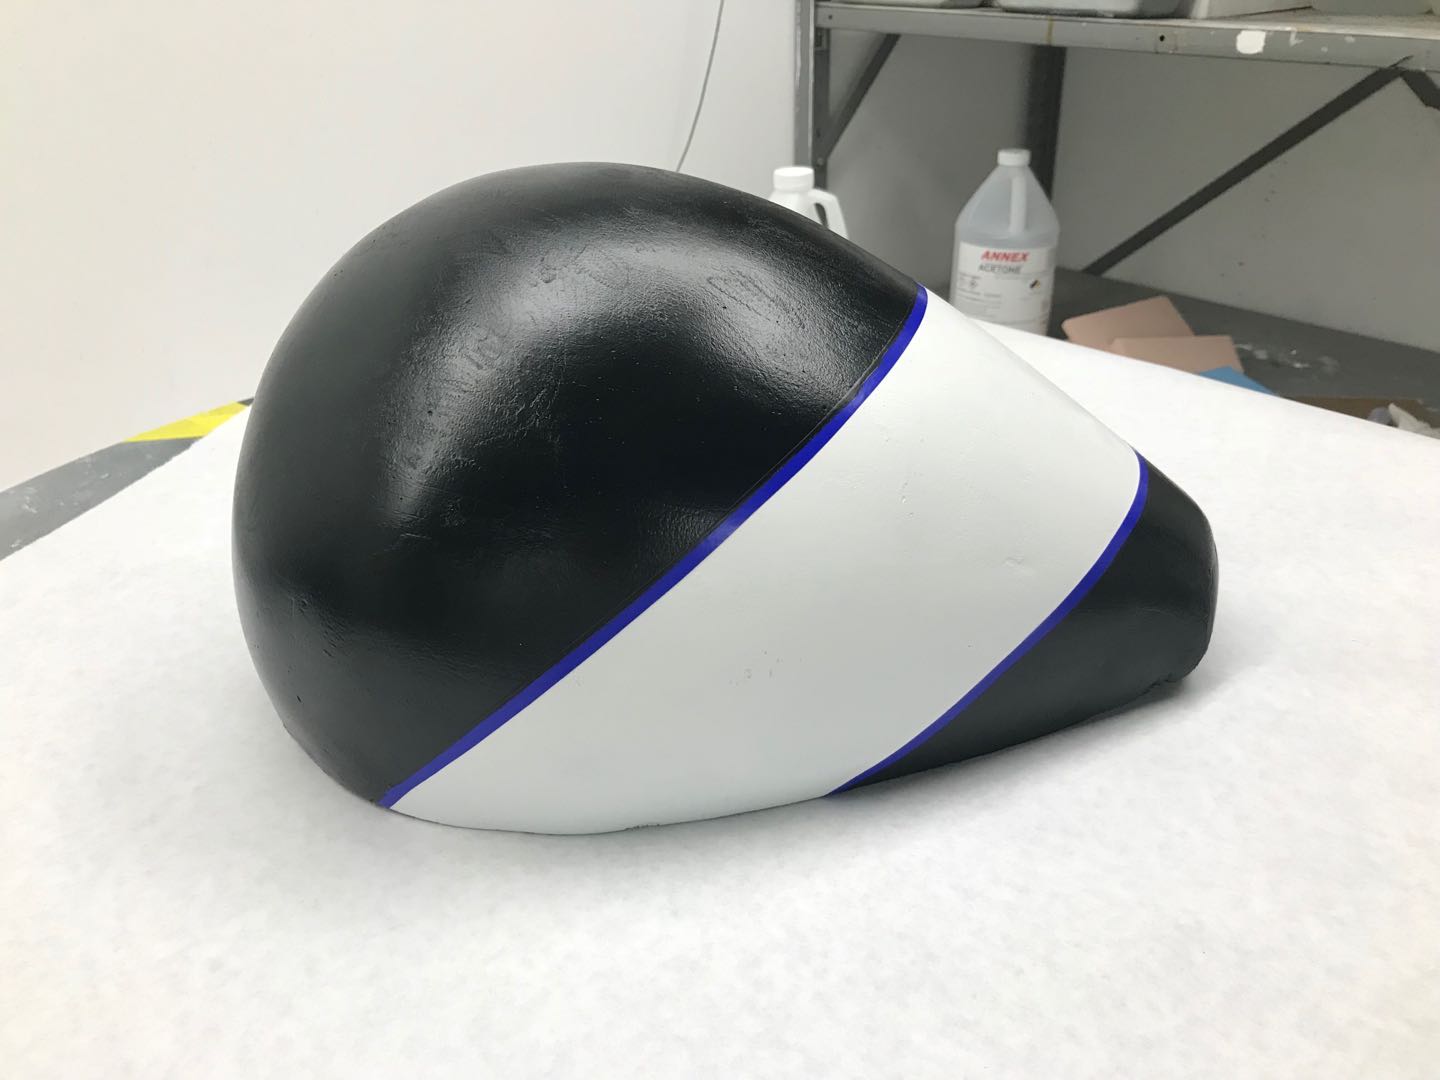
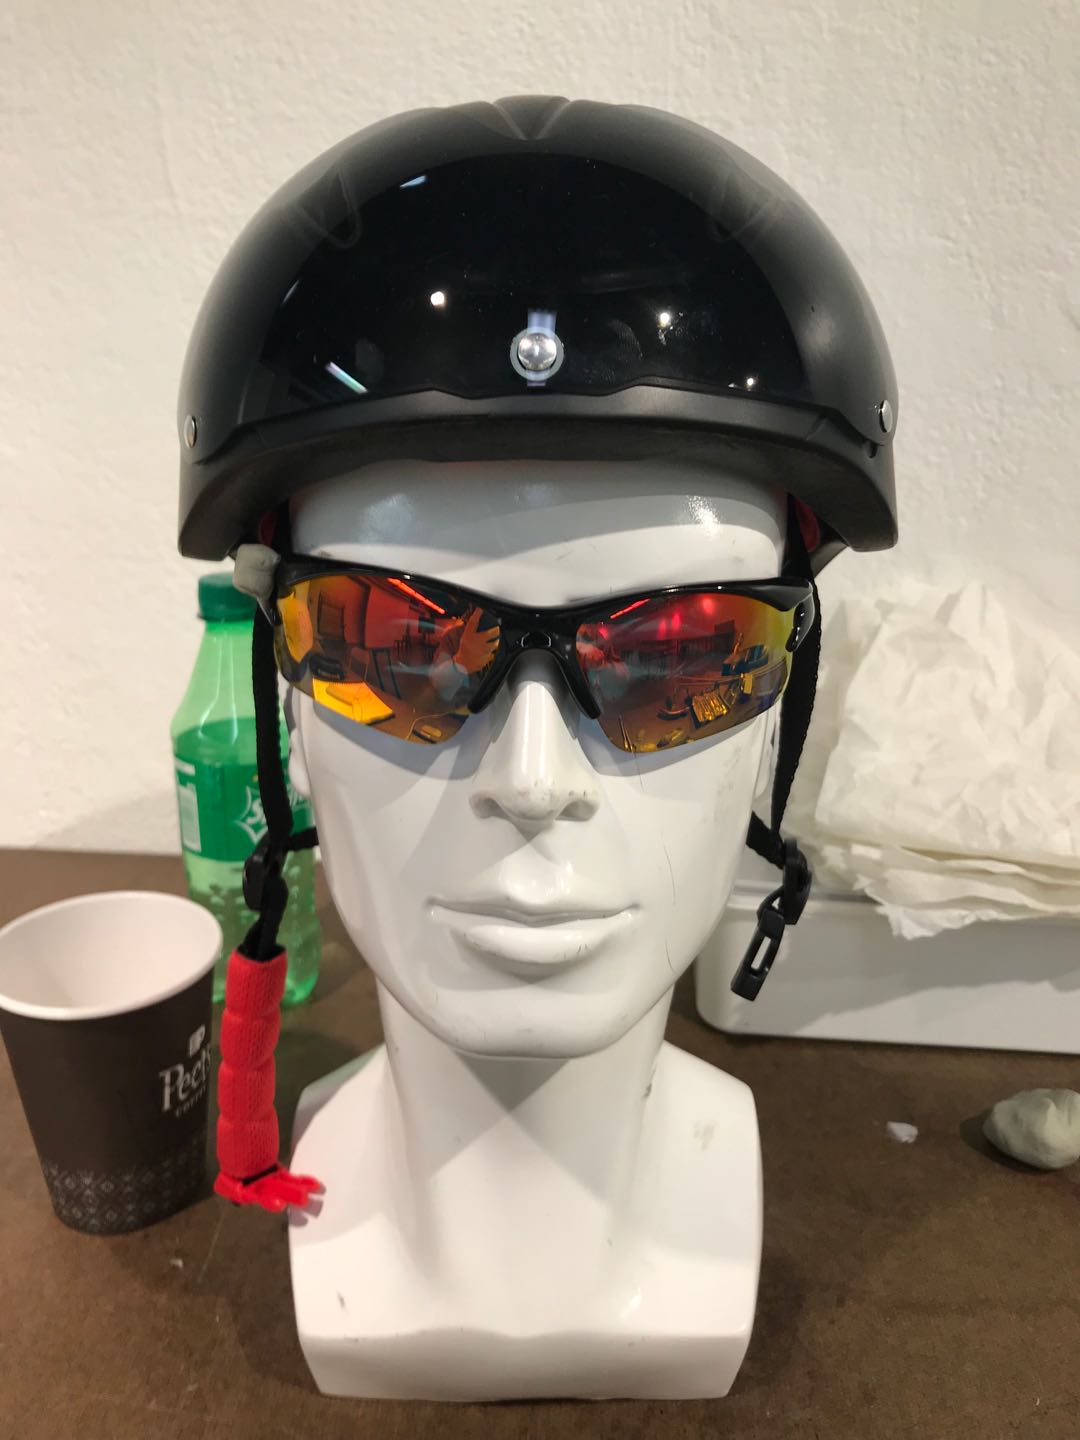
After doing this I decided that this is a great first attempt, but it is not worth saving. My design slightly changed at this point and I found out that I made this a little too large, on top of uneven surfaces. I decided to go for a second attempt.